
Marbled Animal Crackers & WE BOUGHT A ZOO
Recently one Saturday morning I watched We Bought a Zoo (2011) after thinking about movies with characters who make drastic life decisions as a way to get out of a rut they’ve been in.
In this movie, Matt Damon’s character, Ben, purchases a piece of land with a zoo on it. This purchase is Ben’s way of coping with the death of his late wife, and to start a new life. Ben and his daughter and son learn more about each other, help revive the struggling zoo, and experience things they never thought they would, mostly because, well, their home has a zoo.
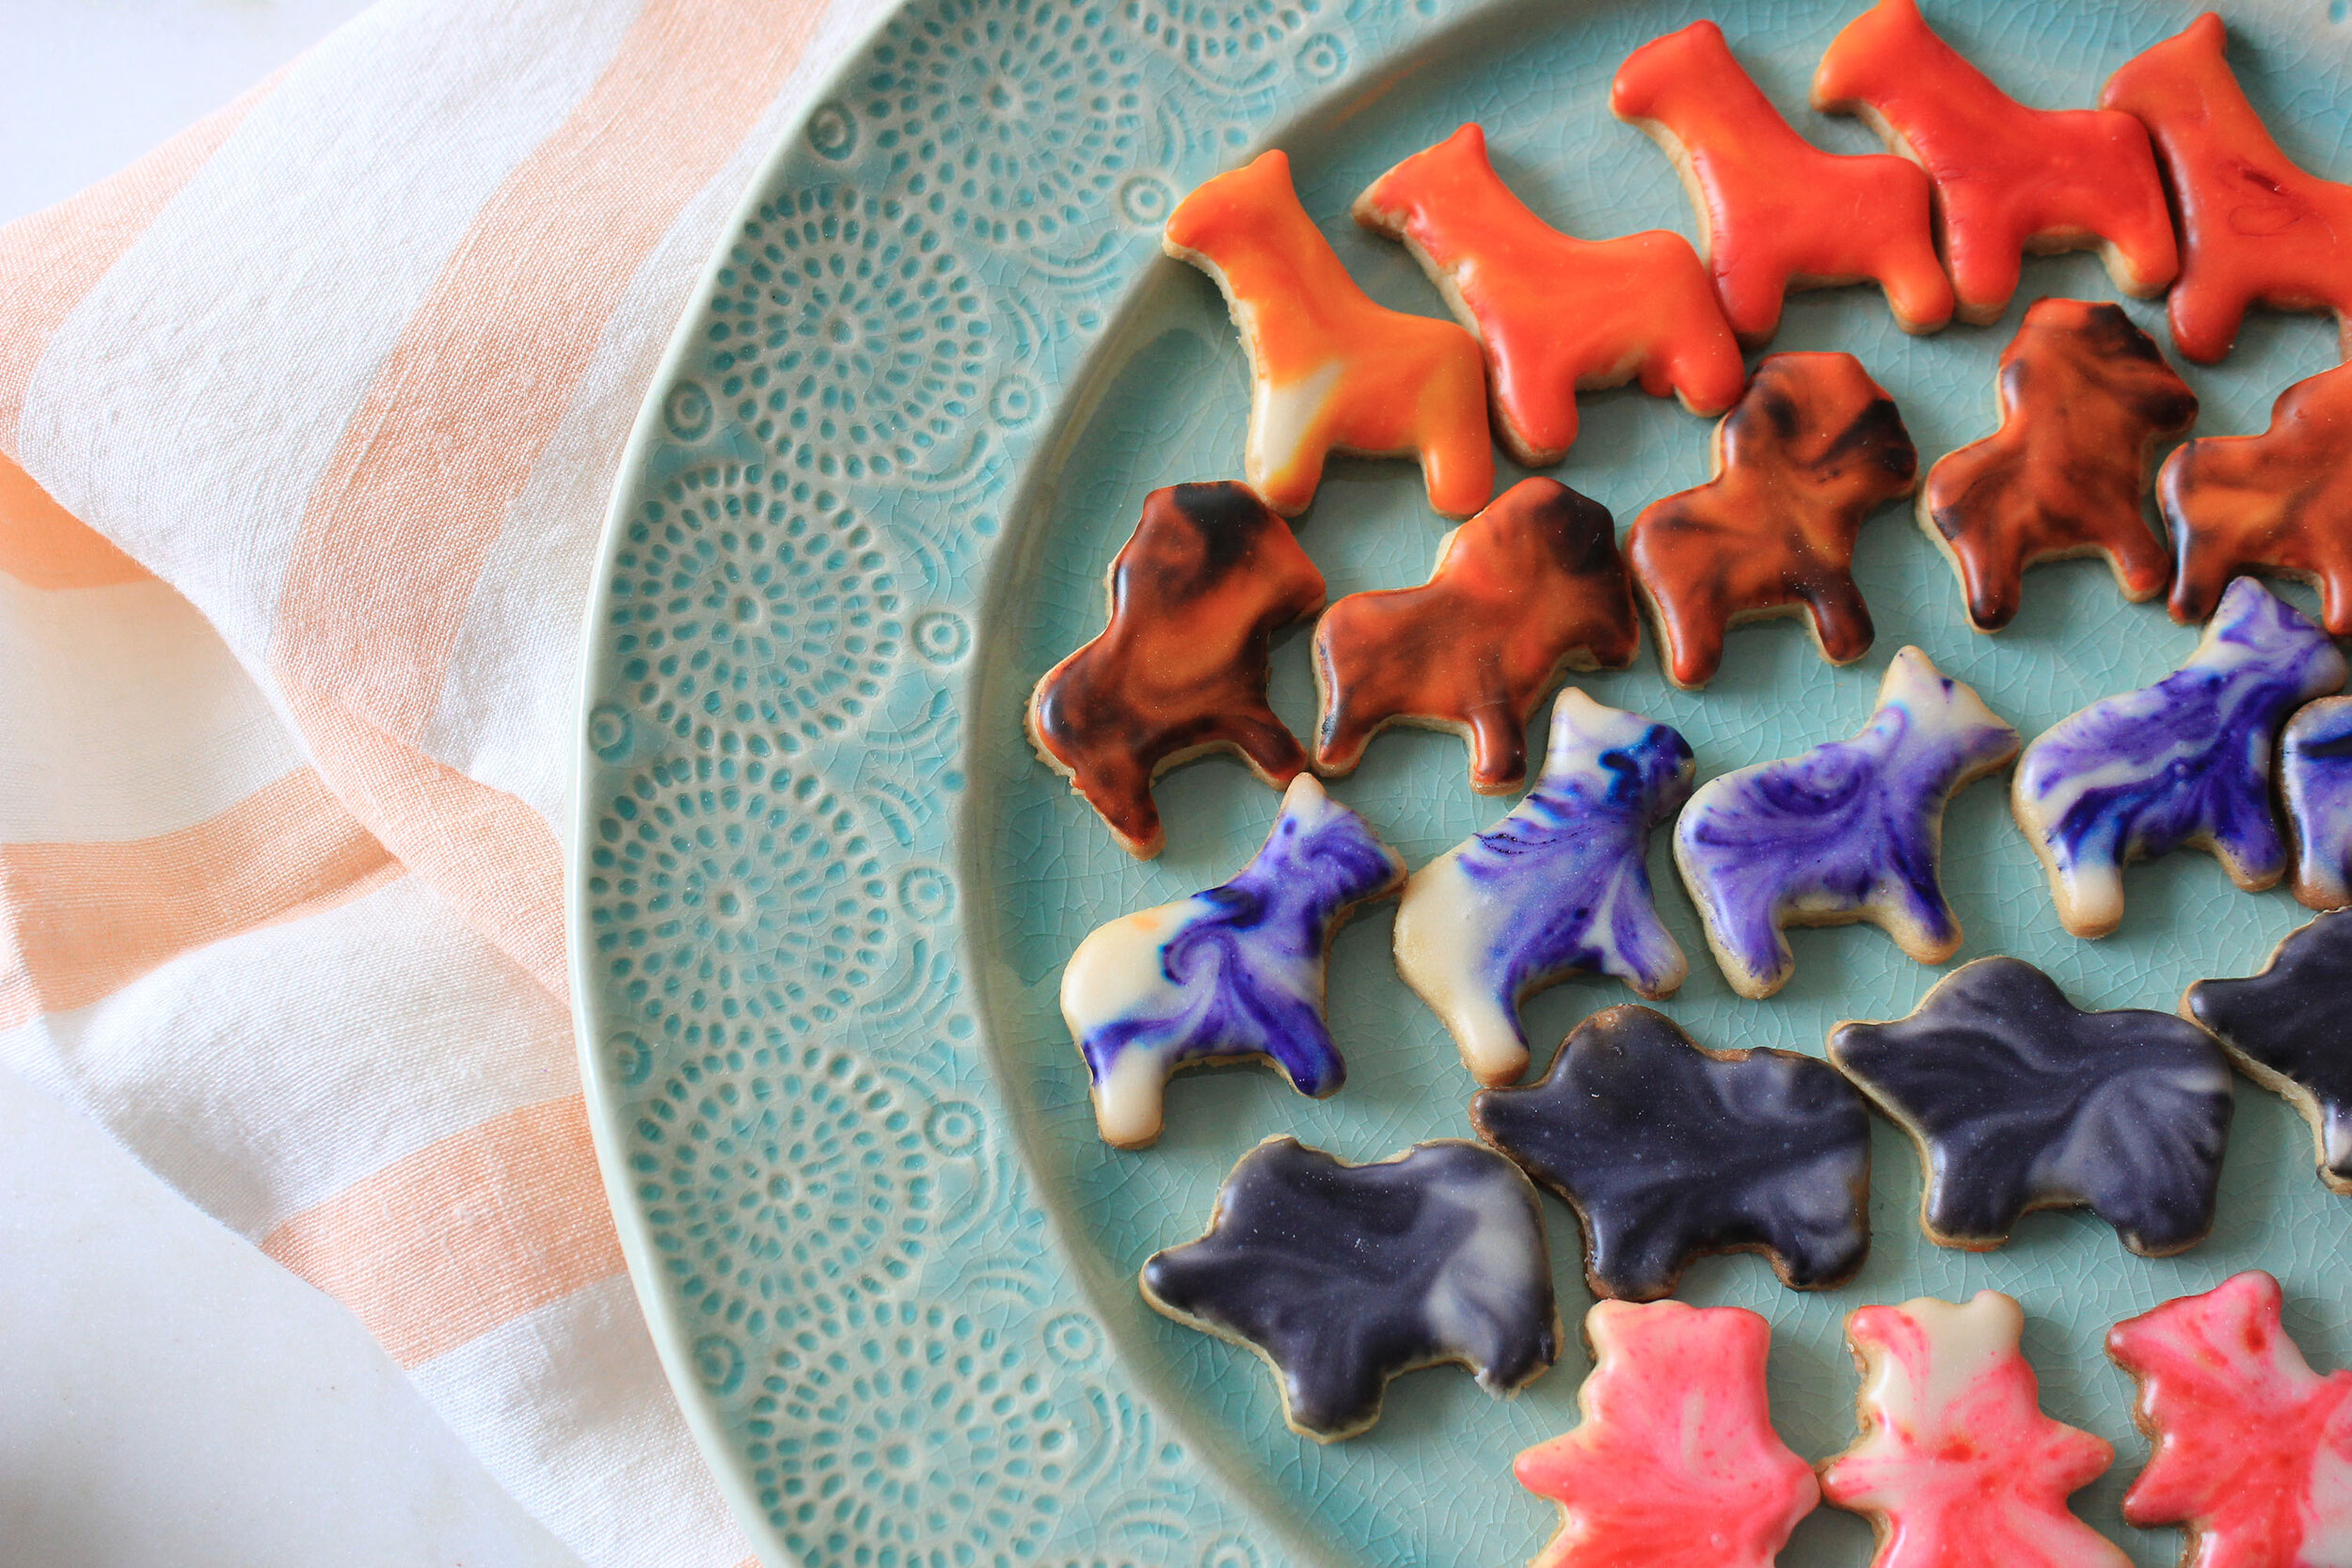
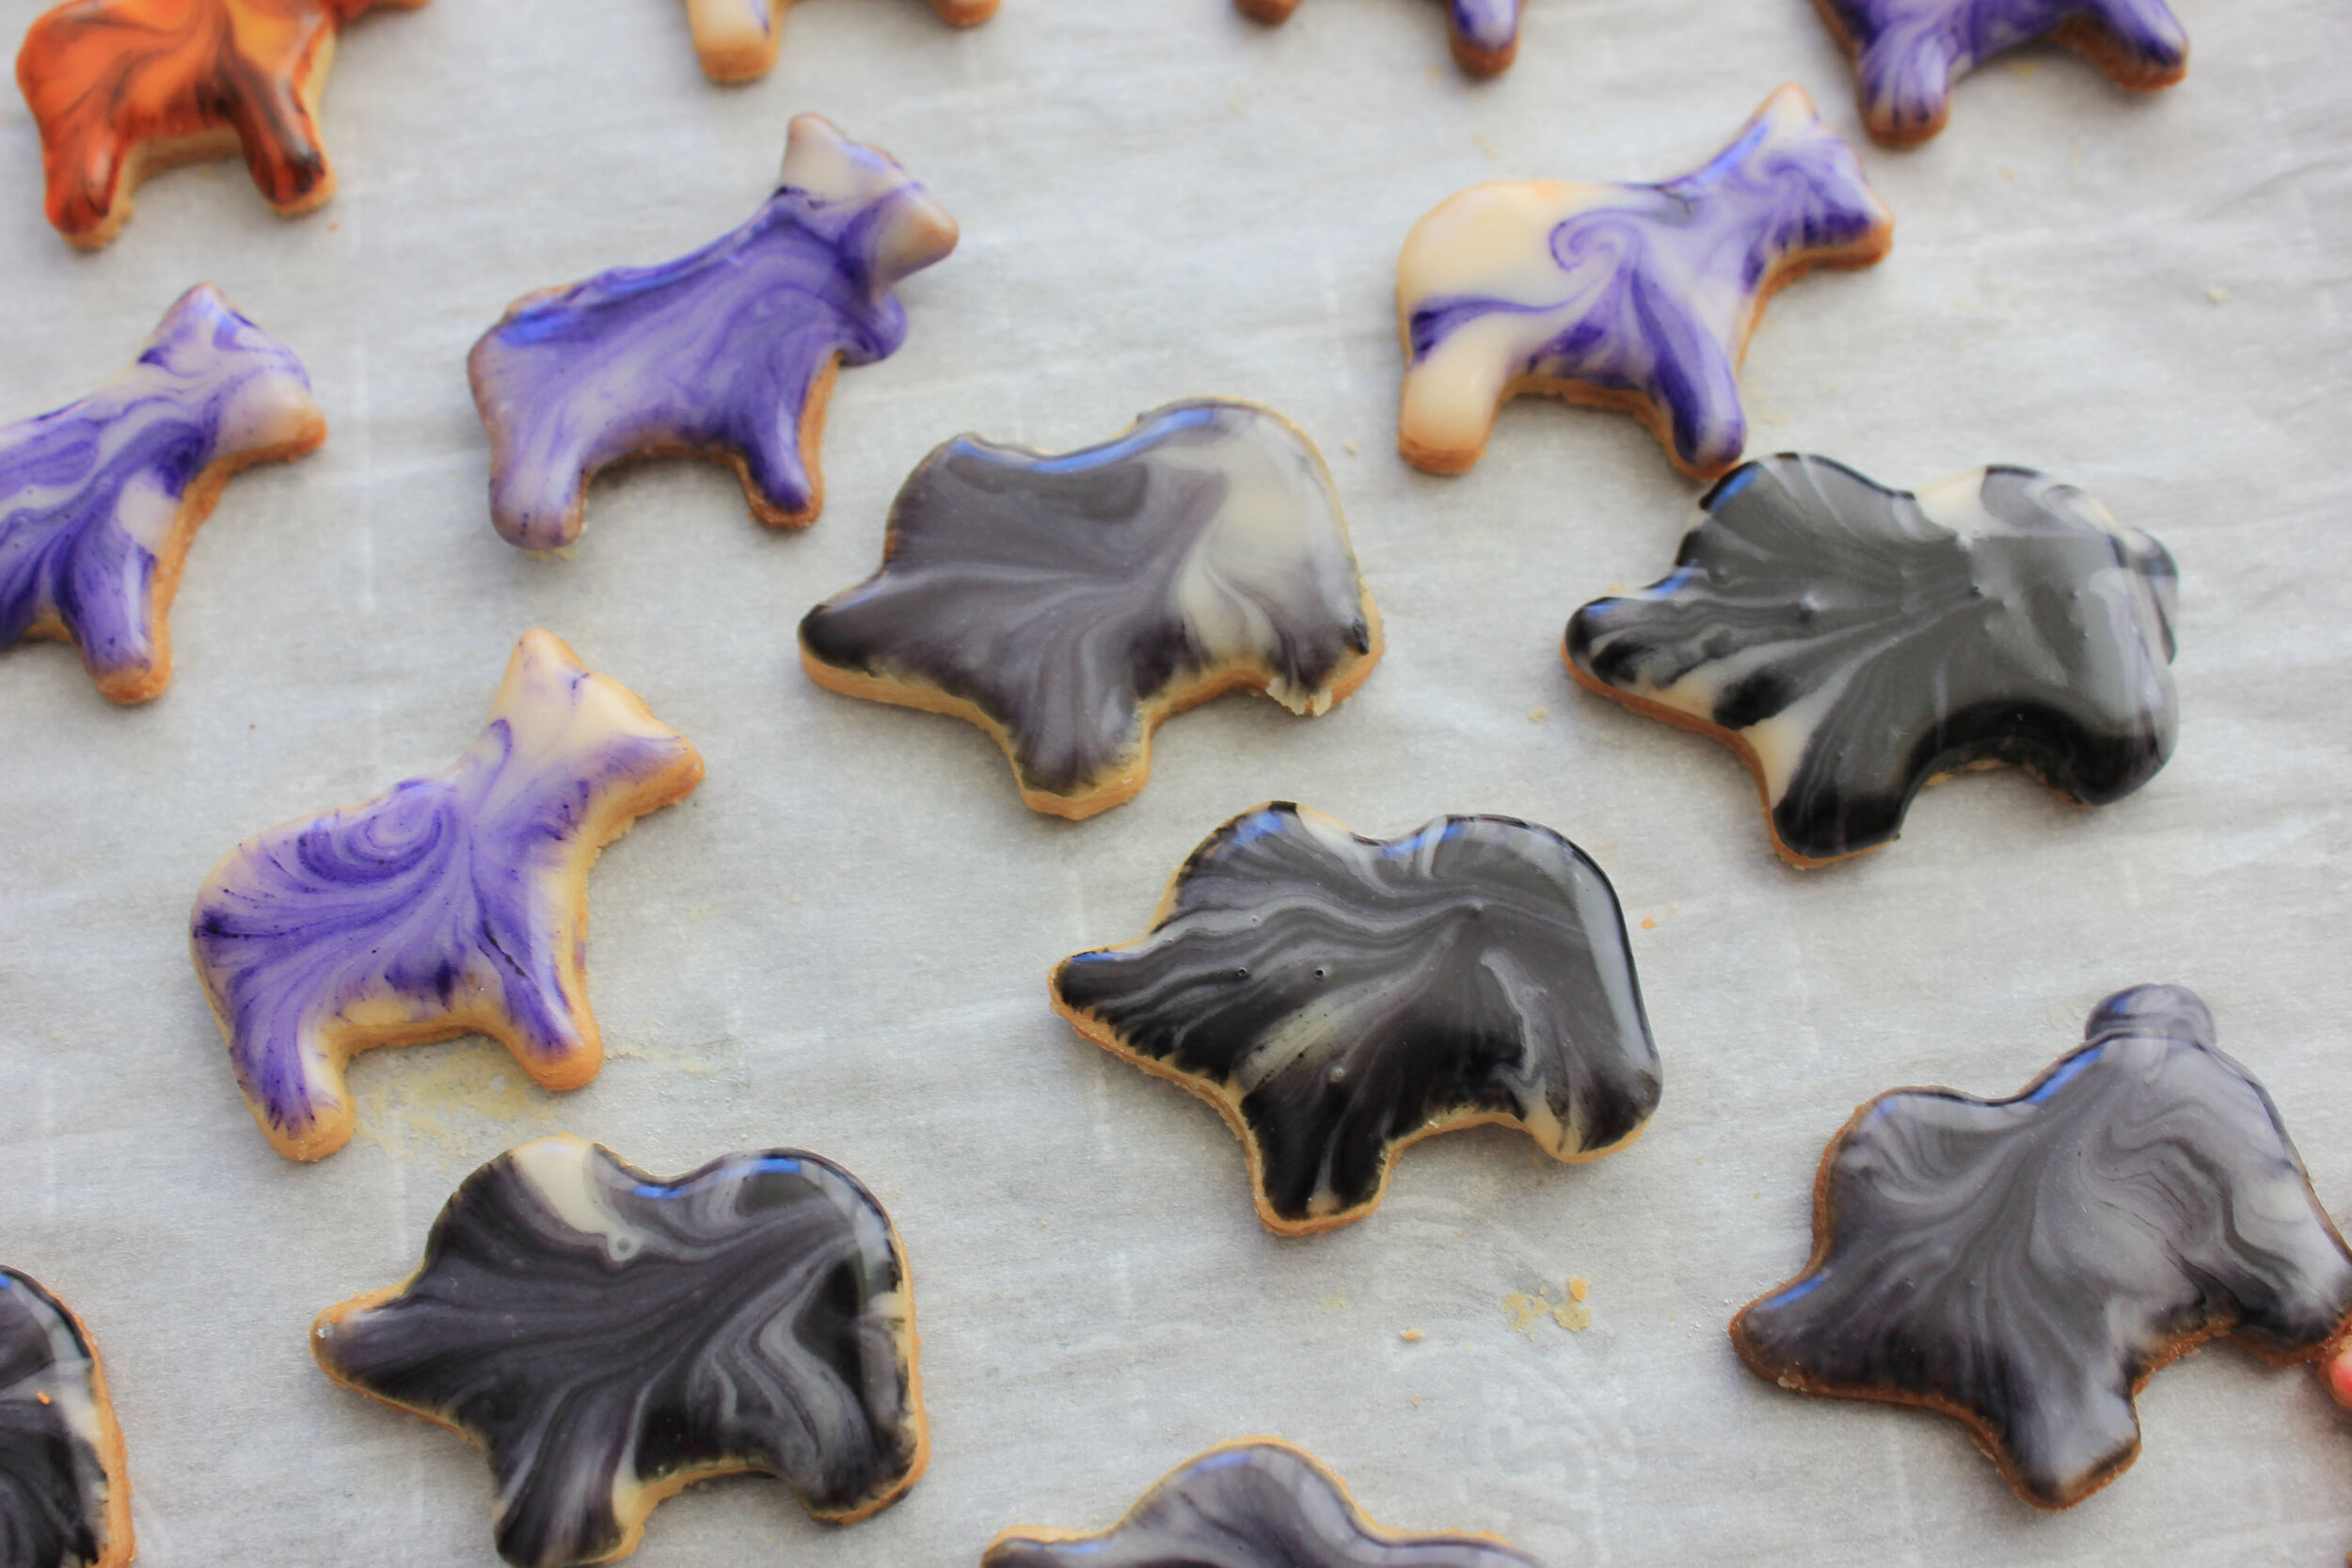
When I found these animal cracker cookie cutters, I remembered Ben’s zoo and knew that crackers needed to be made. In one scene, Ben’s daughter Rosie dances with peacocks while holding a box of animal crackers. Cute and appropriate. After all, you might as well eat animal crackers if you live in a zoo. I chose to marble the cookies because it brings a pop of color to each animal, and it’s fun to create the marble swirls on each cookie. Better yet, each cookie ends up looking unique. I loved using this food coloring set because there are a lot of different colors to choose from and mix, and they are gel so they create perfect steady swirls. We Bought a Zoo is a cute and entertaining movie, and if you’re thinking about making any serious life changes, watch this movie first (with marbled animal crackers in hand).


AC 6


Marbled Animal Crackers
Serves: 150-200 cookies | Cooking time: 1 hour
Ingredients
Animal Crackers
1 cup unsalted butter, room temperature
¾ cup brown sugar
¼ cup granulated sugar
½ teaspoon salt
1 egg
1 egg yolk
3 teaspoon vanilla extract
2½ cups all-purpose flour
Marbled Icing
1 cup confectioner's sugar
2 teaspoons vanilla extract
2-4 tablespoons heavy cream (alter consistency to your liking - the icing should be somewhat thick so that it stays on and hardens instead of running off the cracker)
Method
Animal Crackers
In the bowl of a stand-up mixer, add butter, brown sugar, granulated sugar, and salt. Beat for 3 minutes on low-medium speed until fluffy. Add te egg, egg yolk, and vanilla and beat until thoroughly combined. Add flour in two separate batches - making sure each batch is combined with the egg and sugar mixture.
Remove the dough from the mixer and divide it in half. Wrap each half in plastic wrap and place in the refrigerator for 1-3 hours. It's important that the dough is firm so it will roll out evenly.
When ready to roll out, pre-heat the oven to 375°F. remove one half of the dough and let it rest for 10 minutes to soften a bit. Flour your workspace and rolling pin, and roll out the dough, turning the dough from 12:00 to 4:00 every couple of rolls to get a nice even circle (a useful trick I learned in culinary school).
Use your cookie cutters to stamp out little animals. Transfer crackers to a parchment paper lined baking sheet. This dough won't spread too much (they are supposed to be crackers, after all!) but give them some space around the edges so removing them after baking will be easier.
Bake the crackers for 8-10 minutes in pre-heated oven, but be sure to keep an eye on them as they turn from golden to dark brown very quickly. Transfer to a cooling rack and let cool while preparing marbled icing.
Marbled Icing
Whisk together the sugar, vanilla extract, and heavy cream. Divide into 4-5 batches for each color and animal.
Use a toothpick or paintbrush to dip into the food coloring tub, and make swirls in the icing. Don't go overboard with the swirls - as you dip in each cracker, the swirls will increase.
Using your fingers, grab the cracker and dip it face down into the marbling swirls you created. When picking the cracker up, move your hand in a circle to create an even more swirl-y effect. Rest each cracker on a parchment paper-lined plate and allow it to harden.
© A Dash of Cinema
Did you Eat & Watch?
Let us know this recipe turned out for you! Share in the comments below or on Instagram with the hashtag #ADashEats.
Food Images by Lauren Jessen